Configuring and Customizing Your Portal
Overview
Once you have created a portal, you can configure the portal settings and add custom branding to match the look and feel of your organization. Review the portal configuration and customization options below.
Portal Settings
Login to your portal and navigate to "Portal Configuration" and "Settings" to edit the display name, organization's URL, and administrator email.
You can also append additional CSS and HTML to the portal for styling.
Learner Profile Fields
Login to your portal and navigate to "Portal Configuration" and "Settings" to edit the Learner Profile Fields. These are metadata tags that can be used to provide custom attributes shared among the users/learners in your organization. For example, you may have users/learners associated with different departments within your organization or different competency or skill groups within your organization. You can use this metadata to for various automation tasks, such as bulk enrollment or reporting on users/learners with specific profile metadata tags.
To add learner profile metadata tags, simply type the name of the tag you desire and hit enter or the spacebar on your keyboard. Note: These are case sensitive tags and you must hit the enter key or space bar after typing the desired text before clicking the "Save" button.
Content Profile Fields
Login to your portal and navigate to "Portal Configuration" and "Settings" to edit the Learner Profile Fields. These are metadata fields that can be used to provide custom attributes shared about the content in your portal. For example, you may need to assign attributes for your content. This metadata can be used in combination with learner profile fields for various automation tasks.
To add content profile metadata tags, simply type the name of the tag you desire and hit enter or the spacebar on your keyboard. Note: These are case sensitive tags and you must hit the enter key or space bar after typing the desired text before clicking the "Save" button.
Allow Signup
Check this option if you would like for users to be able register and create their own accounts. If you uncheck this option, only the portal administrator can create the accounts.
Upload Logo
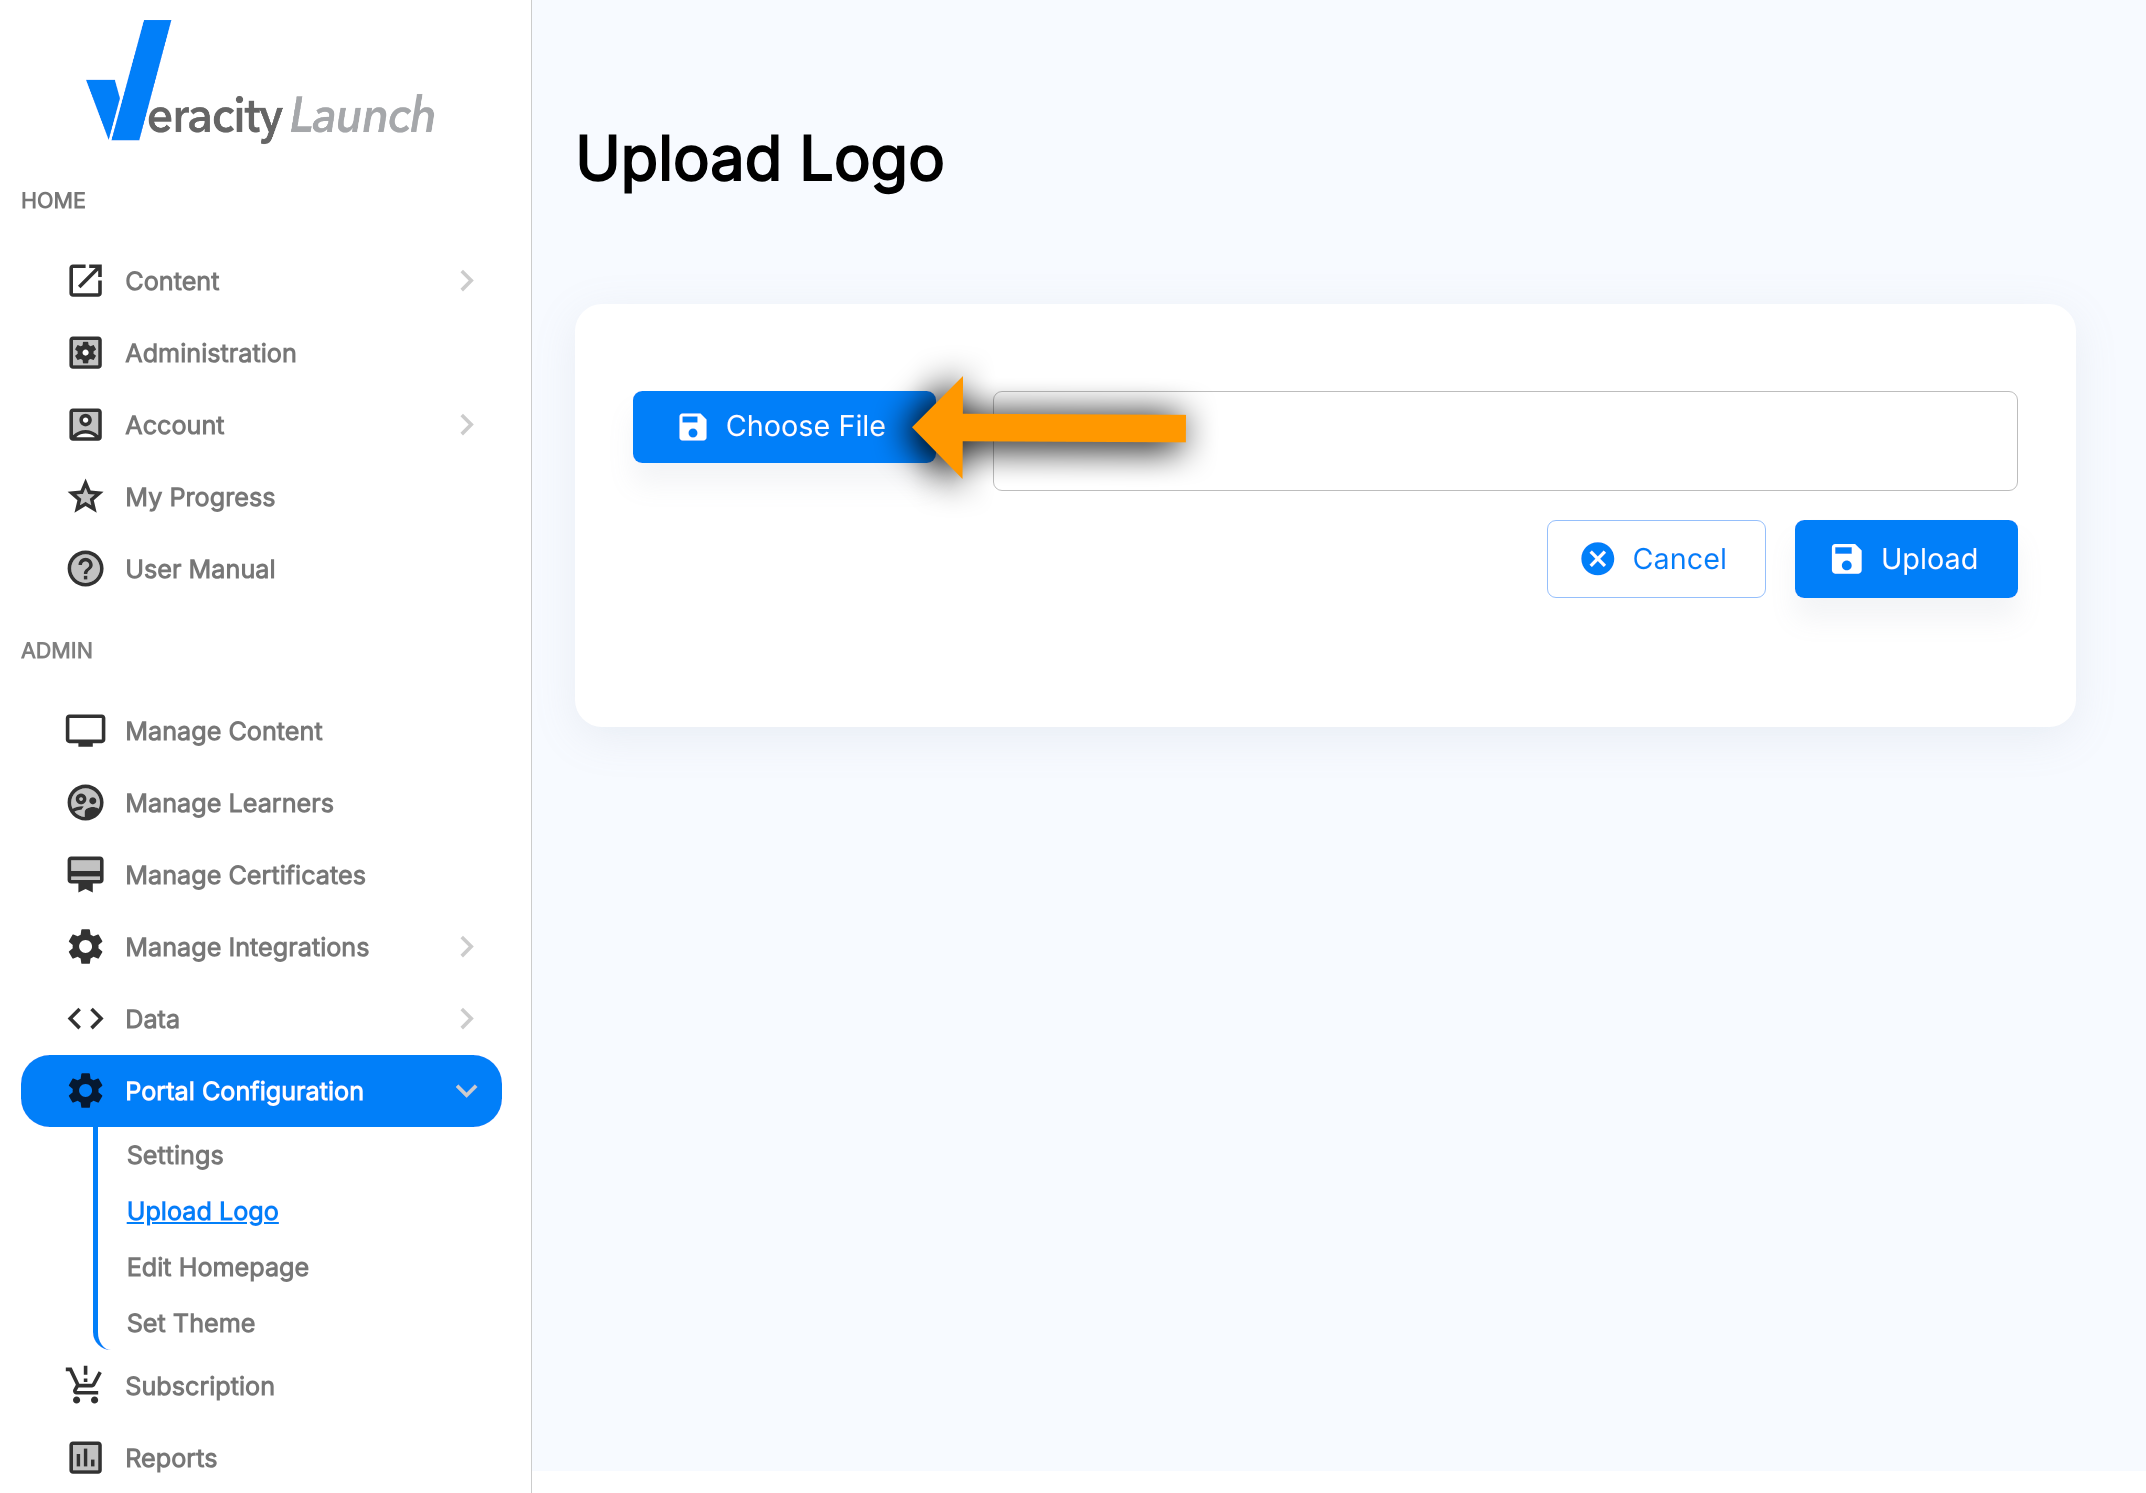
Login to your portal and navigate to "Portal Configuration" and "Upload Logo" to change the logo for the portal. Click the "Choose File" button and then select the image from your computer. Next, click the "Upload" button to save. This logo will be displayed in the navigation menu and the footer throughout the portal interface.

Edit Homepage
Login to your portal and navigate to "Portal Configuration" and "Edit Homepage" to edit. This is the welcome page or landing page that users will see when they visit your portal. You can customize this page's look and feel by adding your own text, images, background, tables, and other layout elements. After adding the desired elements to your page, click the "Save" button to save your edits.
Set Theme / CSS Styling
Login to your portal and navigate to "Portal Configuration" and "Edit Theme" to edit the CSS included with your portal. Currently, you can edit the hexadecimal or RGBA color values for several of the user interface elements. Simply add your desired values to the editor and then click the "Save" button to save your changes.
Related Articles
Creating a Portal
Veracity Launch is a cloud-based learning experience portal for hosting and delivering online learning content. It enables learning and development teams to more easily deploy e-learning content quickly without the need for a Learning Management ...Accessing Portal Content
Once users are logged in to their portal, there are several ways to locate and launch the content. Please see the different options with screen captures below. My Content Content listed under "My Content" only includes items that were enrolled in. If ...Adding Content to Your Portal
Overview Veracity Launch provides a user interface for the adding content to the portal. All content management functions are accessed from the "Manage Content" button in the ADMIN menu. Then, click "Add Content to this Portal" The next screen will ...Logging In to Your Portal
Veracity Launch is a portal for learning content. It allows learners to complete courses and access other types of learning content. In order to login, your administrator must create your account for you or you can sign up. Follow the instructions ...On-Premises Version - Configuring Your Own Launch Server
Setting Configuration Values These settings only apply to on-site installations. When using a hosted SaaS plan, Veracity will manage the settings for your deployment. Contact support if you require modifications to the settings on your hosted ...